Android
![]()
Documentation
October 5, 2011
Please send any issues, questions and feedback to support@omnisketch.com or visit the OmniSketch web site at OmniSketch.com.
You can re-open this documentation by touching the Help icon (![]() ) in the Gallery view.
) in the Gallery view.
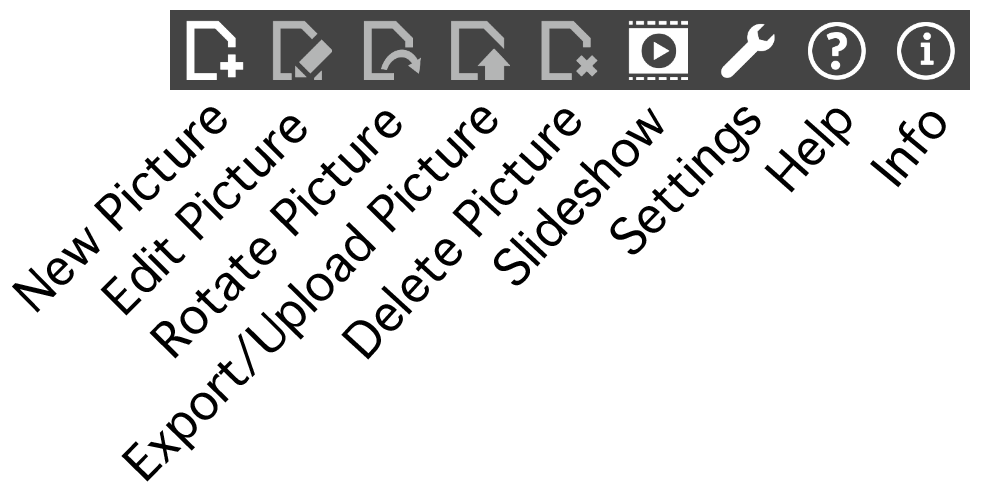
Gallery Toolbar Reference
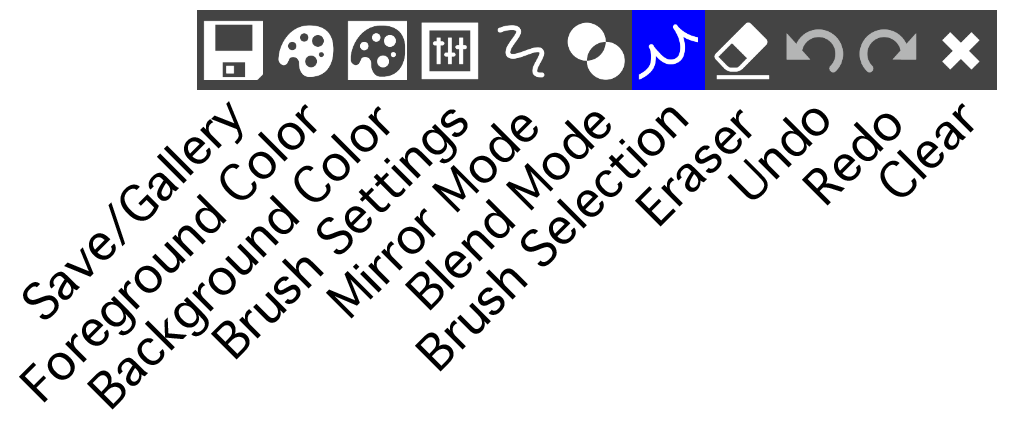
Canvas Toolbar Reference
Quick Start Guide
The first time you run the OmniSketch App you will begin in the Gallery view with no pictures. Touch the new picture (![]() ) icon to begin drawing your first picture. You may start sketching your first work of art here. Touching the Gallery icon(
) icon to begin drawing your first picture. You may start sketching your first work of art here. Touching the Gallery icon(![]() ) at the far left end of the toolbar will allow you to save your work and go back to the gallery view. Once in the gallery view you can create another new picture (
) at the far left end of the toolbar will allow you to save your work and go back to the gallery view. Once in the gallery view you can create another new picture (![]() ) or edit (
) or edit (![]() ) an existing picture.
) an existing picture.
When in the drawing canvas you can use the Menu button to toggle the toolbar off and on.
The picture gallery scolls up and down and recentely added/modified pictures will appear at the top.
Touching and holding a picture in the gallery will open the picture for editing.
Gallery View
The Gallery can have any number of pictures. You can swipe your finger up and down to scroll through your pictures.
The Gallery toolbar is used to add new pictures and perform various functions on existing pictures.
Tapping any picture thumbnail will select that picture. The currently selected thumbnail will have a blue box around it.

![]() Add New Sketch
Add New Sketch
Tapping the Add New Sketch icon will cause a new blank picture to be created. You will be taken to the canvas view where you can work on your new picture.
![]() Edit Sketch
Edit Sketch
Tapping this icon will open the currently selected picture in the canvas view. This allows you to work on any picture you’ve saved in the past. This icon is only enabled if a picture thumbnail has been selected.
![]() Rotate Sketch
Rotate Sketch
This icon allows you to change the orientation of the selected sketch. Each tap on this icon will rotate the sketch 90 degrees to the right. This affects how the sketch is displayed in the gallery, when exported to the Photos App, in the online gallery, on facebook and on twitter. You should rotate your picture to the correct orientation before exporting it. NOTE: This will not affect how the sketch is displayed when editing.
![]() Sketch Export
Sketch Export
Tapping the Sketch Export icon will display a dialog of selections available for exporting the currently selected picture. All options except Export to Gallery require an internet connection.
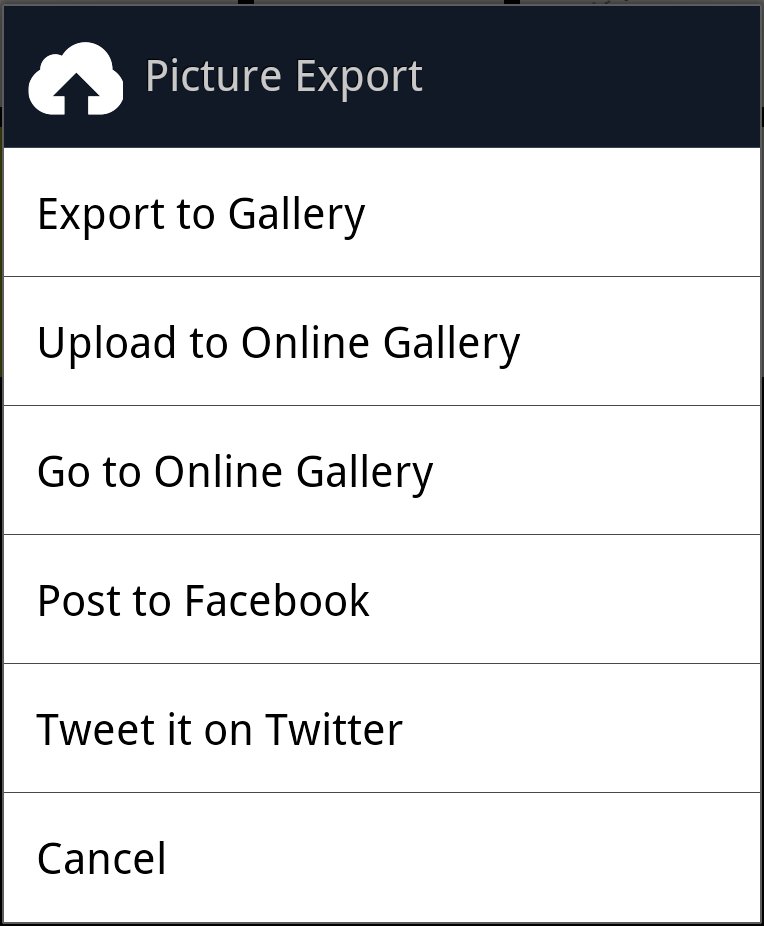
Export to Gallery - This option will export the currently selected picture to the device picture gallery.
Upload to Online Gallery - This option uploads the currently selected picture to the OmniSketch Online Gallery. You will be asked to enter your name so it can be displayed on the Online Gallery web site. You may use any name you like or leave it anonymous.
You must have an internet connection.
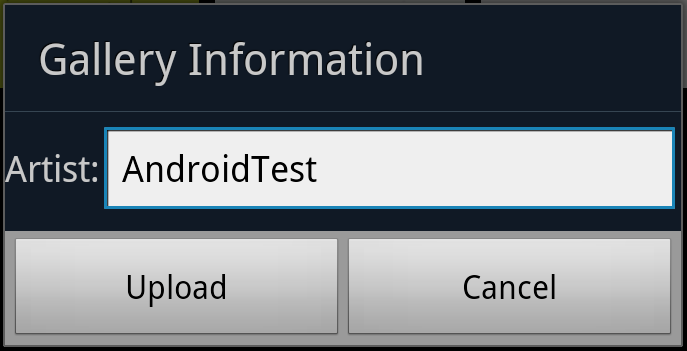
After entering your name your picture will be uploaded. You will be notified with a message when the upload is complete or if the upload fails. Your pictures will not be visible immediately on the gallery web site. The picture must be reviewed and approved before it will be visible. Make sure the pictures you upload are appropriate for all ages to view. It may take up to 24 hours for your picture to be reviewed and approved.
Go to Online Gallery - Selecting this option will open the web browser to the Online Gallery page.
Post to Facebook - This option allows you to post your artwork to your Facebook Wall. You will be prompted for your Facebook username and password the first time you use this function. The first time you use this option you will be prompted to give permission to the OmniSketch applicaiton to post to your wall.
Tweet it on Twitter - This option allows you to post your artwork to Twitter. You will be prompted for your Twitter username and password the first time you use this function.
![]() Slide Show
Slide Show
Tapping the Slide Show icon will cause a slide show to begin. The slide show will display images from your local gallery in full screen mode. The images will be displayed in random order. You can exit the slide show at any time by tapping the screen.
![]() Delete Sketch
Delete Sketch
The Delete Sketch icon is used to delete the currently selected picture. Deleting a sketch is permanent and can not be undone.
![]() Settings
Settings
This icon allows you to change settings that affect how the OmniSketch App operates.
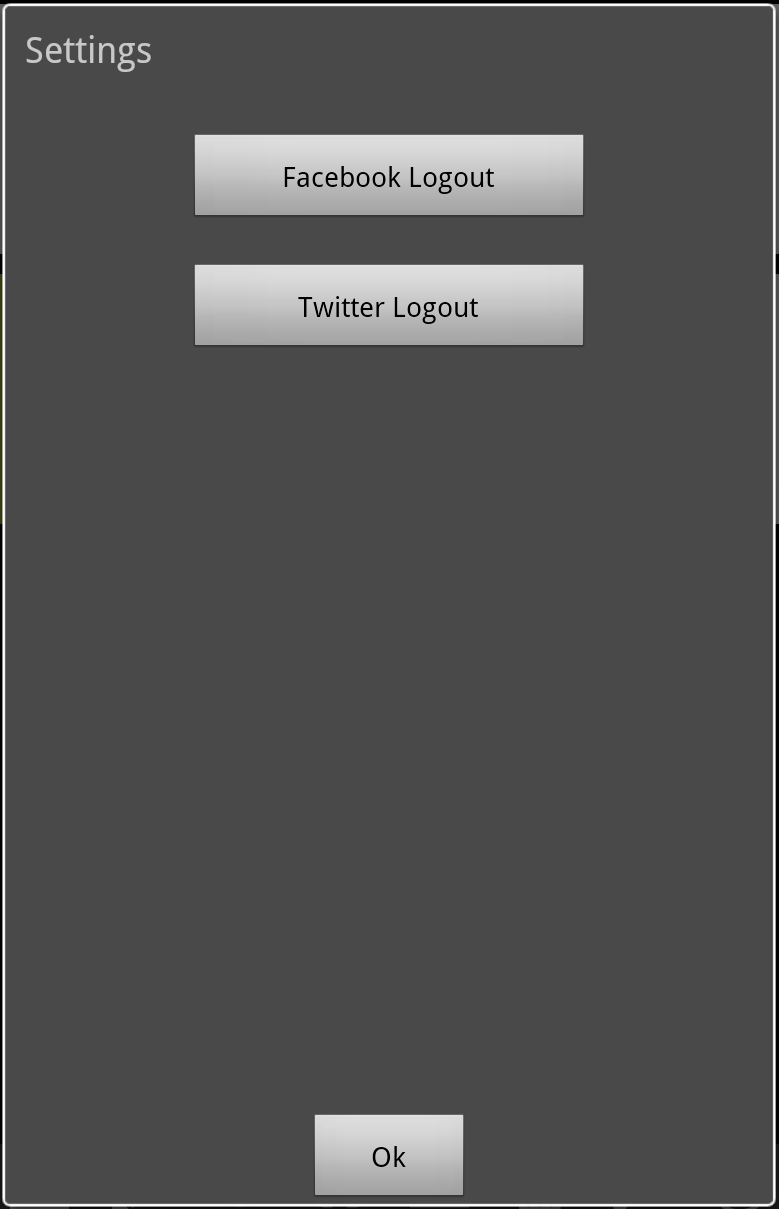
Facebook Logout - This will cause the App to forget your Facebook login information and the next time you want to post a sketch to your Facebook wall you will need to log in to Facebook. This option is only available after posting to Facebook. You can use this to change to a different Facebook account.
Twitter Logout - This will cause the App to forget your Twitter login information and the next time you want to tweet a sketch you will need to log in to Twitter. This option is only available after Tweeting a sketch. You can use this to change to a different Twitter account.
![]() Documentation
Documentation
This button opens the OmniSketch Documentation. If you are not connected to the internet you will see the documentation that was installed with the OmniSketch App. If you are connected to the internet online documentation from the OmniSketch web site will be displayed. It is possible that the online documentation is more up to date and contains additional information not found in the local documentation.
![]() Documentation
Documentation
Displays a popup with information about the App.
Canvas View
The canvas toolbar allows you to change colors, brushes, drawing modes, undo, redo and clear your drawing. You can toggle the toolbar off and on by using the Menu button.

Drawing
Drawing is easy. Just touch the screen and move your finger. Some of the brushes will be affected by how fast you move your finger. Some brushes will draw larger shapes when you draw faster. Some will draw darker (more dense) when you draw slower. Experiment with drawing speeds for the various brushes.
![]() Save and Go to Gallery
Save and Go to Gallery
If you have modified your picture you will be asked if you want to save your changes.
![]() Brush Control
Brush Control
The Brush Control dialog is used to change how the brushes draw.
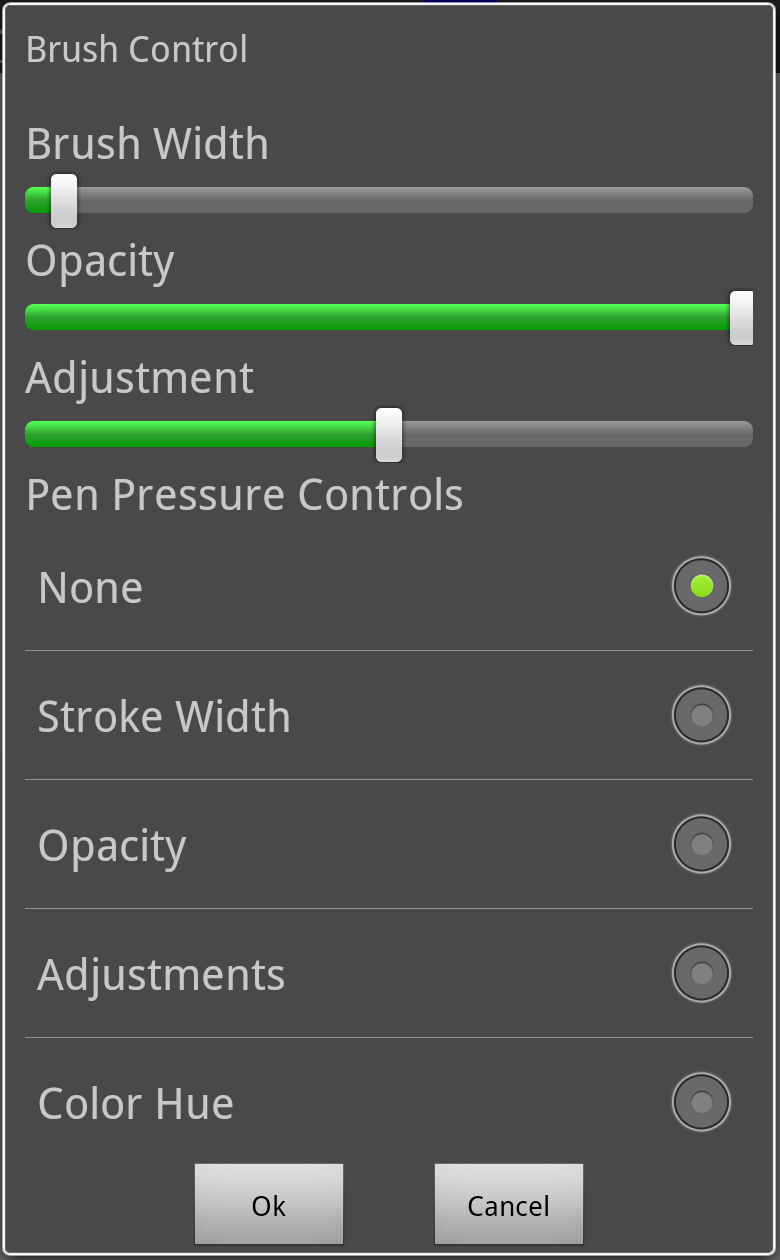
Brush Controls
The brush controls allow you to adjust the line width, opacity (transparency) and the adjustment value of the brush. Adjusting the opacity will allow you to see though what you’re drawing to the background and to what was previously drawn.
The adjustment value allows you to change how the brush’s drawing algorithm works. Experiment with the various brushes with adjustment available.
If your device has a pressure sensitive stylus pen you will be able to use the pen pressure to control some aspects of drawing. You can tie the pen pressure to line width, opacity, adjustments, color hue, color saturation or color value.
![]() Foreground Color Selection
Foreground Color Selection
This color palette is used to set the brush color.
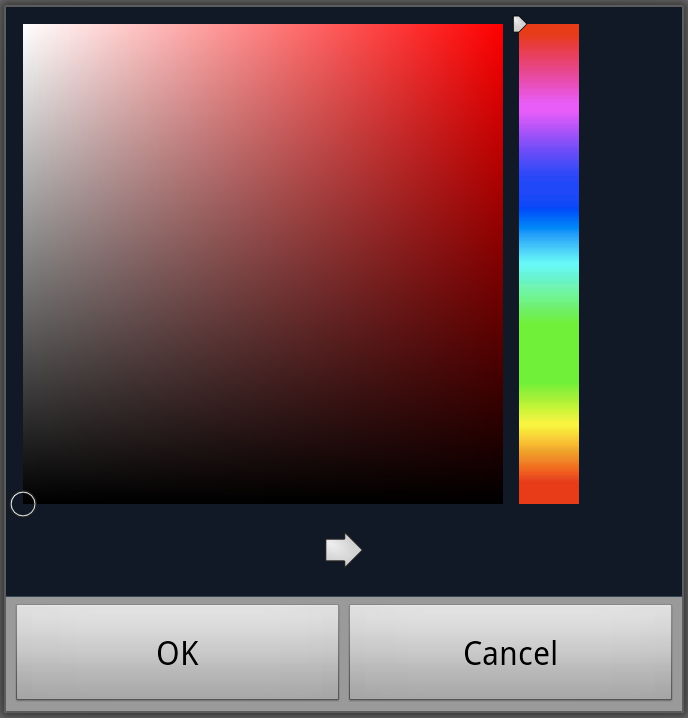
There are two selectors on the color palette. The strip on the right allows you to select the base color. The square on the left allows you to select the brightness of the color.
![]() Background Color Selection
Background Color Selection
This color palette is used to set the picture’s background color.

There are two selectors on the color palette. The strip on the right allows you to select the base color. The square on the left allows you to select the brightness of the color.
![]() Blend Mode
Blend Mode
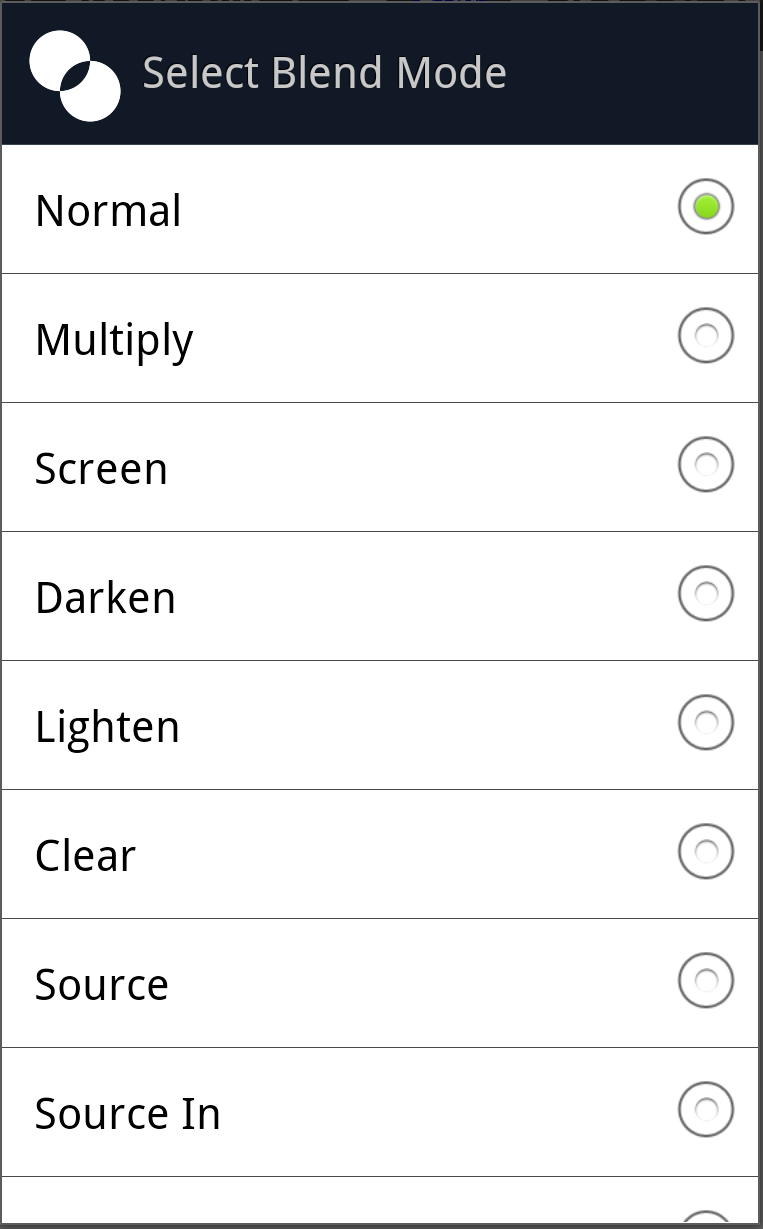
There are many different blend modes available. Blend modes control how the colors your a drawing will blend with the colors that have already been drawn. Normal mode simply places new colors on top of old colors. The Clear mode allows you to use any brush as an Eraser. Experiment with the different Blend Modes. You can create some stunning effects!
![]() Mirror Mode
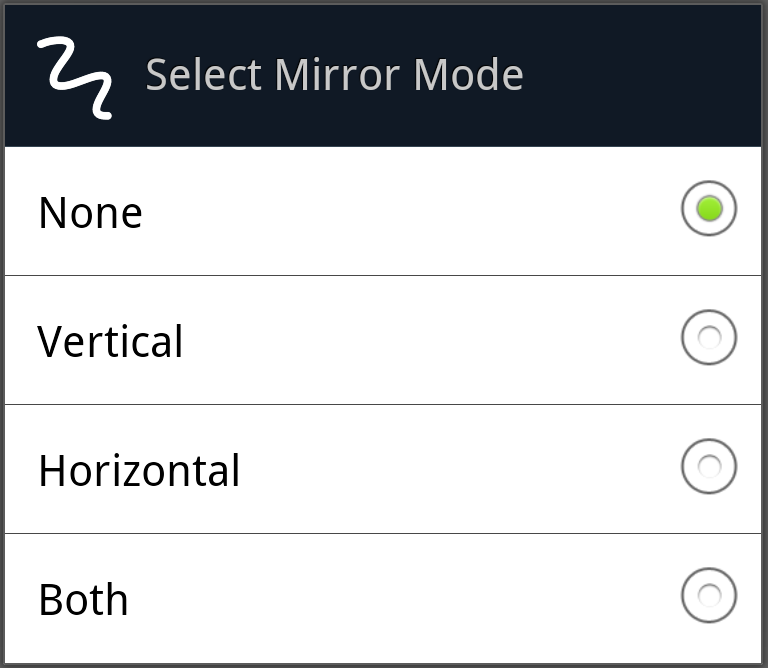
Mirror Mode
The mirror modes allow you to draw with symmetry. You can mirror your drawing vertically, horizontally or both vertically or horizontally.
![]() Brush Select
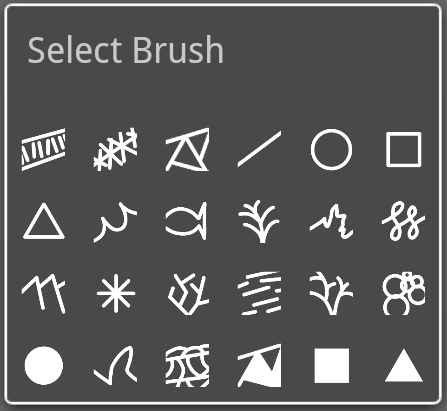
Brush Select
Tapping the Brush Select icon allows you to toggle from erasing to drawing and to select what brush you want to use for drawing. If the eraser is currently selected you will be switched to drawing mode. If drawing mode is selected and you tap the brush icon you will be able to change the brush.
![]() Eraser Select
Eraser Select
Tapping the Eraser Select icon will cause the Eraser to be selected. Erasing removes drawn colors from the canvas.
![]() Undo
Undo
The Undo icon allows you to remove the last change you made to your picture. Each time you touch the canvas, move your finger then remove your finger from the screen it will be added to the undo queue. Tapping the Undo icon will remove those changes in the reverse order that they were performed. Up to 20 changes can be stored in the undo queue. The Undo icon will be dimmed when there is nothing to undo. NOTE: If you draw for a long time without removing your finger from the screen it can make the Undo and Redo operations slow.
![]() Redo
Redo
The Redo icon does the opposite of the Undo icon. If you Undo something you’ve draw it will be added to the Redo queue. Redo allows you to Undo an Undo. So if you undo a line you’ve draw using Redo will put the line back. The Redo queue can also hold up to 20 changes. If you Undo a change and then draw more the Redo queue will be cleared and you will not be able to Redo what you Undid. The Redo icon will be dimmed when there is nothing to redo. NOTE: If you draw for a long time without removing your finger from the screen it can make the Undo and Redo operations slow.
![]() Clear
Clear
Tapping the Clear icon will cause all drawing on the canvas to be cleared. You can use this button the start over on your drawing. The background color for your drawing will remain the same. You can use Undo to get your drawing back after using clear.
